How do you remove scratches from solid hardwood floors? It’s a question that plagues just about all owners of this popular floor covering. Moving furniture, fierce stilettos, dirty soccer cleats, and plenty more can harm the surface of hardwood, and make your whole house look more than a little worn out and run-down. Still, one of the advantages to hardwood floors is that scratches can be repaired in some cases and it’s pretty easy, especially compared to other flooring options like vinyl or carpeting.
There are a variety of ways to remove scratches from solid hardwood floors with pencils, a Brillo pad and other cool home hacks. And we’re here to tell you all about them—let’s get started!
An important tip to remember before you tackle any DIY hack
*Always start with the manufacturer instructions. This includes reviewing any original care instructions provided to you when you had your floors installed. You will want to make sure that you don’t ruin or harm the overall structural integrity of the hardwood floors or void any warranties that may be available to cover the flooring for other issues that may arise.
If you are not sure what the floor is (for example, you were fortunate enough to purchase a home with amazing hardwood floors), it’s important to start by knowing what kind of finish is on your floor before choosing a method for fixing your scratches.
- Is the finish on the floors oil or water based?
- Does the floor have a wax coating?
- Is the wood varnished or stained?
- Is there an aluminium oxide coating?
Knowing what the surface is will allow you to select the appropriate course of action for your hardwood floor scratch repair. One tip that could be used to determine what is on the surface is to wipe the floor in an inconspicuous spot with an acetone-based nail polish remover. Wax, shellac and varnish finishes will come up, but polyurethane won’t.
Clean the Trouble Spot Thoroughly
Start by cleaning the entire area around the scratch. You will want to remove all the traces of dust and grime on the floor before you begin any other steps. Pay close attention to the inside of the crack itself, which should be totally free of dirt, if possible. If you have a wax layer, use a wax remover solution to clear away the wax before you begin the repair.
For Small Scratches, Try DIY Solutions
If you have a small, single scratch that’s only noticeable when you get close (like a scratch from an excited pet) and your floor has a relatively new finish, try a DIY home solution first. One way is to mix equal parts apple cider vinegar and olive oil in a small cup, and dab the mixture in to the scratch. Leave it for the rest of the day, and rub it out. This method often takes care of minor scratches.
Another way is using steel wool, like a Brillo pad. Rub the steel wool carefully over the scratched area and always with the grain direction of the wood. Rubbing across the grain will increase the mark and make it more noticeable. Pay special attention to the edges of the scratched surface. Blend the areas by lightly rubbing the steel wool against the edges.
Channel your inner artistic self and hide some minor scratches in your wood floor by rubbing on stain-matching crayons, blending pencils or sharpie pens. Wax sticks are great scratch busters because they include stain and urethane, which protects the floor’s finish. Don’t be afraid to mix a couple of colors together to get a good match. And don’t sweat if the color is a little off. Real hardwoods mix several hues and tones. So, as long as you cover the contrasting light colored scratches, the color imperfections will match perfectly.
You can even use lightweight sandpaper to fix the scratch.
Bonus Scratch Fixer – Walnut (That’s right, we said walnut!)
This step is so unique, it needed its own section.
Make sure you use a raw walnut—not one that’s candied, spiced or cooked in any way.
- You’ll want to rub it in the same direction as the wood grain. It should only take a few passes with the walnut to help make the scratch disappear.
- Brush your fingers over the area. A few strokes should do the trick!
- Let the scratch area sit for five minutes. The walnut’s natural oils need time to soak into the wood.
- Buff the area with a washcloth. If you don’t have a washcloth handy, any soft cloth such as a dishcloth can work. And then the scratch should be done!
*If you have pets, just make sure you keep them out of the area until you’ve finished cleaning up the scratches since walnuts can be poisonous to them.
Deep Scratches and Gouges
*Repairing deep scratches in solid hardwood floors is a little more complicated. This project will require more of your time and needs a little extra attention or can be left to a professional. Which is what we would advise – but if you are interested in a little more DIY – try out these ideas:
If a chunk is taken out of the floor, then opt for a pre-colored latex wood putty filler, one that obviously closely matches the color of your floor.
- Apply the filler with a plastic putty knife, which is a tool that will least likely cause any further damage to the floor.
- Once the filler has dried completely, use fine-grit sandpaper to level out the surface so that there’s no elevation difference.
- Finally, coat varnish over the repair.
Now that we’ve broken down the simple tips to fix the scratches in your solid hardwood, it’s time to get started! If you’re not comfortable taking on any of these repair steps, then the best thing to do would be to contact a professional to get it done without any stress.
Recommended Posts
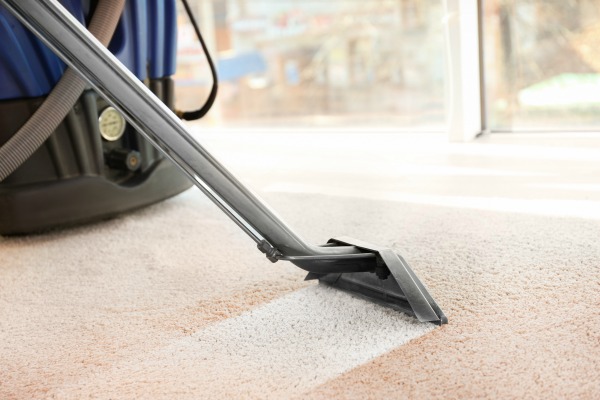
5 Reasons Why You Should Seek Professional Carpet Cleaning
Some individuals may opt to undertake the activity by themselves as a way of cutting costs; others b...
Read More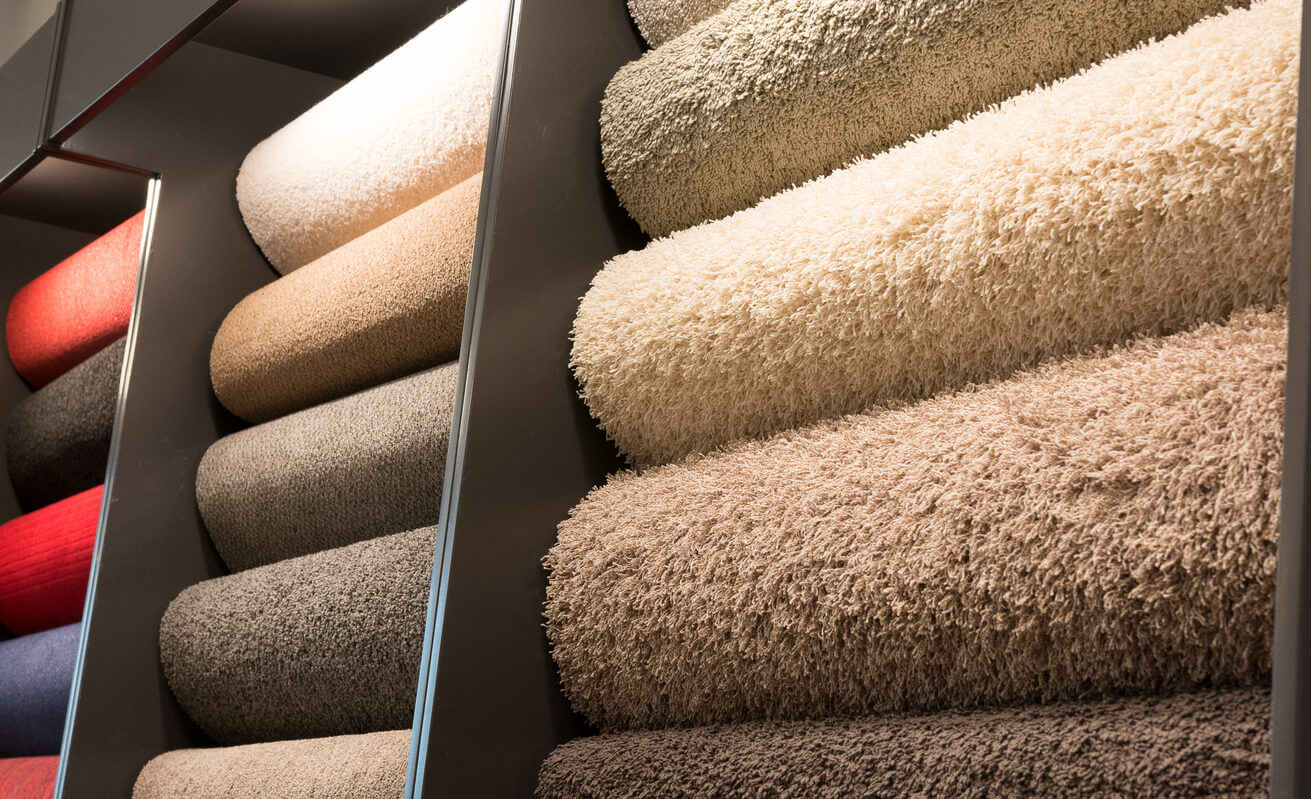
Buyers Guide
Your buyers guide for anything and everything flooring! We cover each type of flooring and go into s...
Read More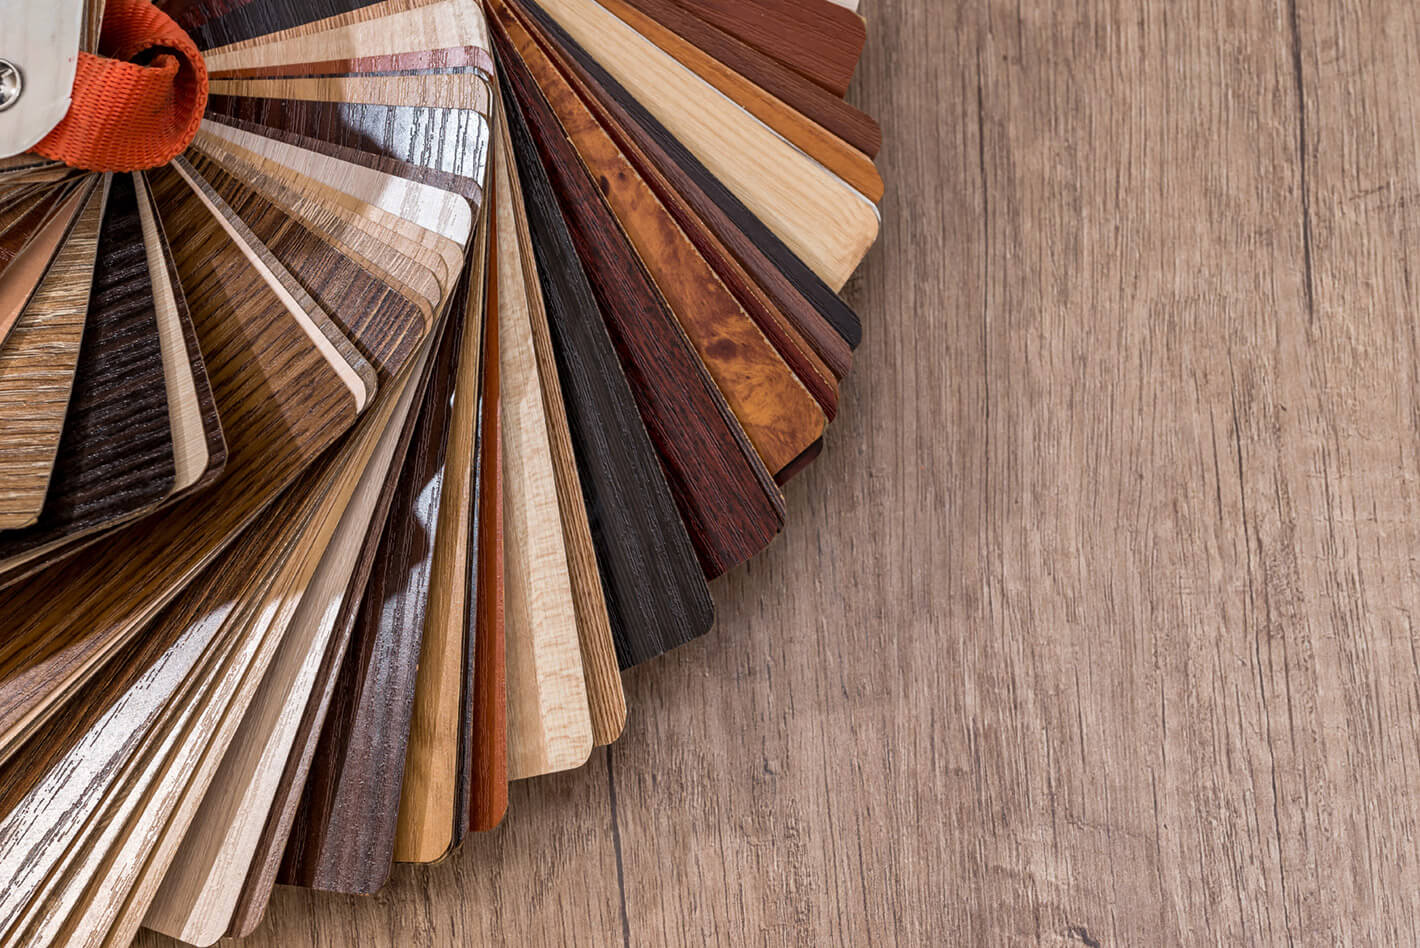
Flooring Guide
Flooring Guide The best floor for your home depends on a number of different factors, so we’ve...
Read More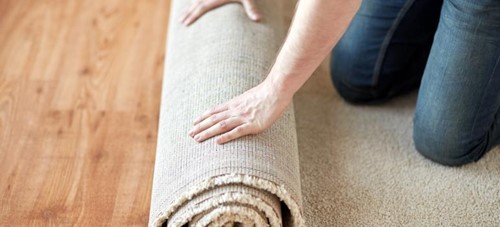
Should You Hire A Professional To Install New Flooring?
Should you install new flooring or use a professional? This article highlights everything you need t...
Read More
6 Dirty Secrets About Your Carpet
Walking on fresh, clean, plush carpet is a nostalgic feeling. It’s the reason we spend time and mo...
Read More